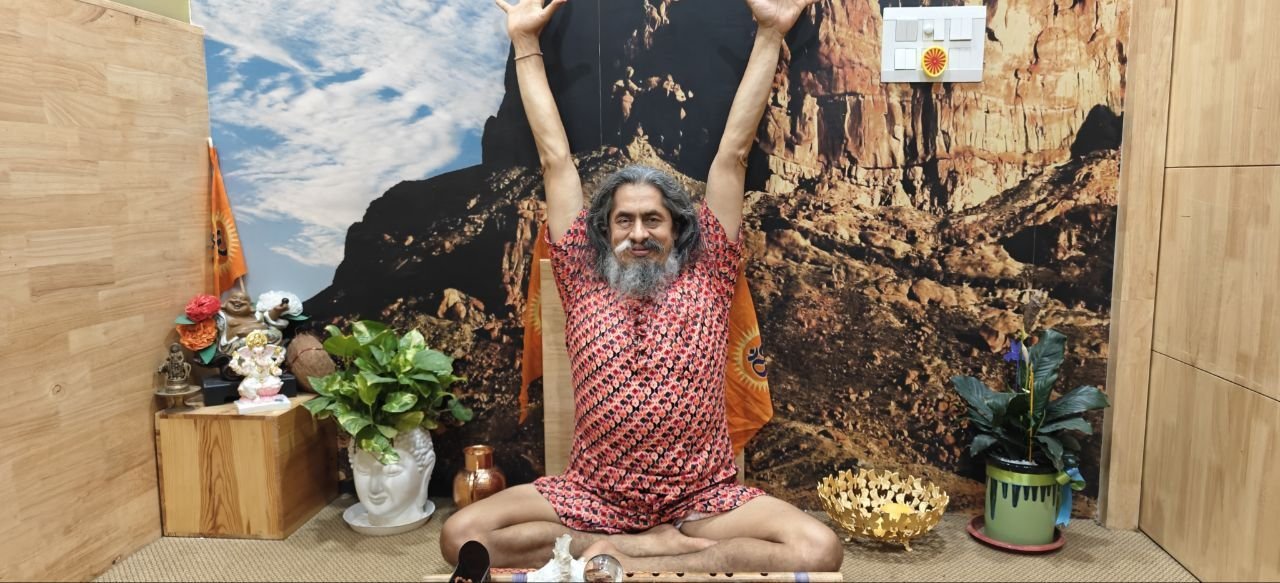
Author: Yogacharya Dhakaram

Founder of YogaPeace Sansthan, Yogacharya Dhakaram is an internationally acclaimed yoga teacher and healer with over 30 years of experience. He has trained thousands of students in yoga and is known for his depth of knowledge and his ability to turn around lives with yoga.

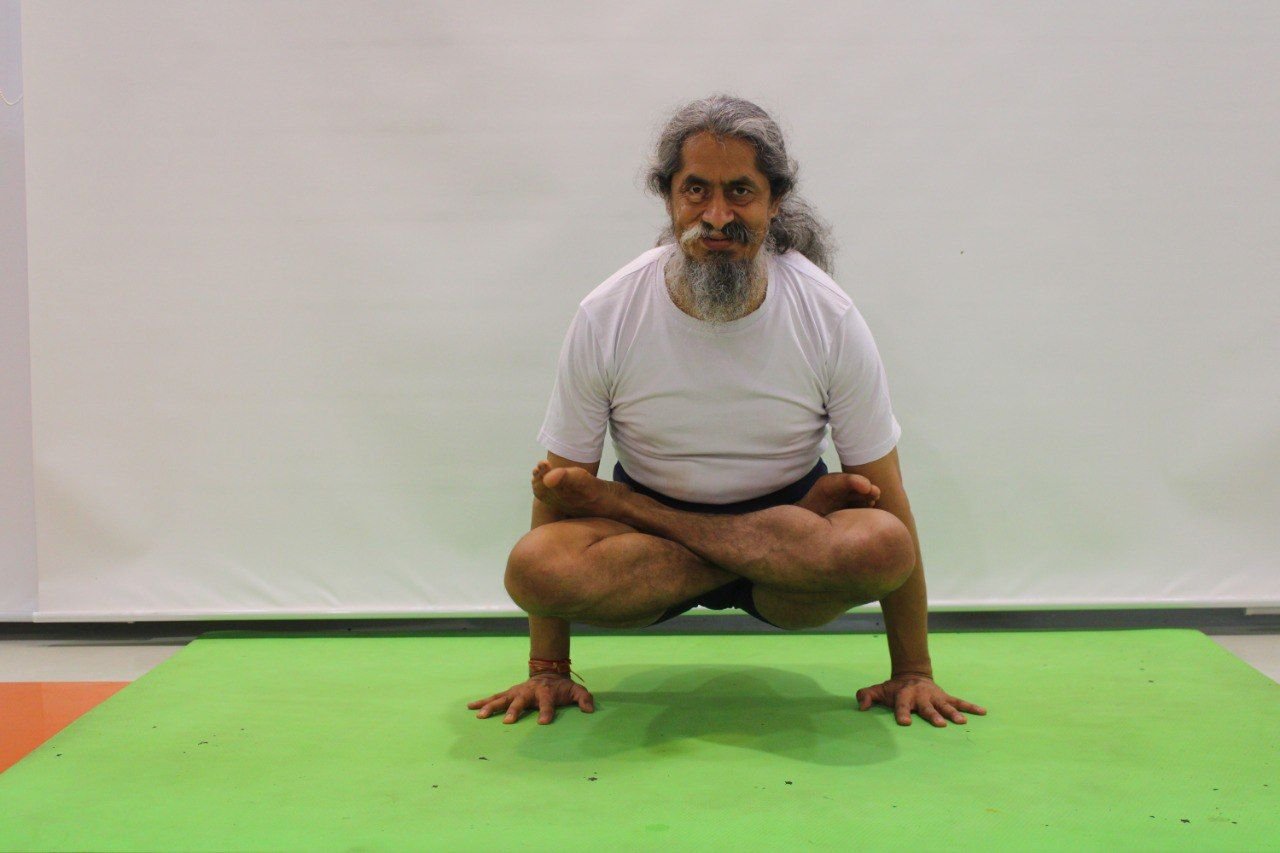
Smiling Towards Health – Practice of Uttitha Padmasana

Hari Om!
A warm, smiling greeting to all of you. They say – “Nothing is complete without a smile,” so let’s keep smiling always.
Welcome to our initiative – “A Step from Health to Happiness.”

‘Uttitha’ means “raised” and ‘Padmasana’ means “lotus posture”.
So, Uttitha Padmasana = Raised Lotus Pose

How to Practice:

  1. Start with Padmasana (Lotus Pose):
    • Sit in Dandasana (Staff Pose).
    • Fold your right leg and place the heel on the left thigh, close to the navel.
    • Then fold the left leg and place the heel on the right thigh, near the navel.
  2. Hand Placement:
    • Place both palms on the ground beside the hips.
  3. Lift the Body:
    • Slowly lift your body upward.
    • Keep the spine straight.
    • Hips and knees should be parallel to the ground.
    • Arms should remain straight, elbows not bent.
    • Gaze forward.
  4. Hold the Position:
    • Try to stay in this posture for 30 seconds to 1 minute.
    • Lift your body as high as you can—especially hips and knees off the ground.
  5. Coming Back:
    • Gently return to the original sitting position, the same way you entered the posture.
    • Close your eyes and observe the changes in your body.

Benefits:

  • Strengthens the shoulders.
  • Improves flexibility and strength of the spine.
  • Tones the abdominal muscles and supports digestion.

If You Can’t Do Padmasana:

  • You can also practice this in Sukhasana (Easy Pose).
  • You may not lift your legs as high, but the process remains effective.
  • If you can’t lift the legs, start by just lifting the hips.
  • With consistent practice, your shoulders will gain strength, and the full pose will become easier.

Precautions:

  • Pregnant women should avoid this posture.
  • Those who have had abdominal surgery should not attempt it.
  • Avoid if you have wrist pain or injury.

Dear friends,
Continue practicing with us regularly through our blog and enjoy the journey towards good health.
If you find any posture difficult, don’t worry—regular practice will make it possible. Never lose heart.

Stay happy, cheerful, and blissful always.
Thank you for your time and presence.

Yogacharya Dhakaram
Founder – YogaPeace Sansthan

A Simple Way to Reduce Anxiety: Bhastrika Pranayama

Hari Om! A warm, smiling welcome to all of you. They say nothing is possible without a smile, so keep smiling always. Welcome to “One Step from Health to Happiness”—a space where we explore simple ways to live better.

Anxiety: The Modern-Day Struggle

Today, we’re talking about anxiety—something almost everyone struggles with these days. Our ambitions and desires have grown, but so has stress. The good news? A simple breathing technique can help you stay free from anxiety.

We’ve discussed Bhastrika Pranayama before, but today, we’ll focus on how it helps manage anxiety.

Bhastrika Pranayama: Your Natural Anxiety Relief

Bhastrika is a powerful breathing exercise that you can do anytime, anywhere—whether you’re sitting on a couch, chair, or floor. The key is to focus on your breath.

When we practice Bhastrika, our mind stays fixed on our breathing, which calms the nervous system and reduces anxiety.

How to Practice Bhastrika Pranayama

  1. Posture: Sit in Padmasana (Lotus Pose). If that’s uncomfortable, sit in any relaxed position.
  2. Hand Movement:
  • Inhale deeply while raising your arms from chest level to overhead (palms facing forward).
  • Exhale completely while bringing your hands back down to rest on your thighs.
  1. Duration: Practice for at least 4 minutes, then rest for 1 minute.
  2. Observation: Notice the difference in your body and mind before and after the practice.
  3. Consistency: Aim for at least 5 minutes daily for best results.

Benefits of Bhastrika

  • Calms the Mind: When done with closed eyes, Bhastrika keeps the mind from wandering, reducing anxiety.
  • Deep Breathing = Peaceful Mind: The longer and deeper your breath, the calmer your mind.
  • Boosts Oxygen Levels: Bhastrika increases oxygen flow in the lungs, enriching blood circulation and energizing the body.
  • Supports Heart & Lungs: Helps with respiratory and cardiovascular health.
  • Strengthens Immunity: Regular practice enhances your body’s natural defense system.

Bring the power of yoga into your life. Practice asanas and pranayama regularly to stay healthy and happy.

Keep smiling in every moment of your life !

Yogacharya Dhakaram
Founder, YogaPeace Institute

Relieve Ankle and Knee Pain with Gulph Naman

Greetings, friends!

Welcome to the program “One Step from Health to Happiness.” Today, we will talk about Gulph Naman.

‘Gulph’ means ankle, and ‘Naman’ means bending or forward-backward movement. This is a simple yet very effective yogic practice that helps to strengthen and make flexible the ankles, calves, knees, and thighs. Especially, it is very beneficial for relieving ankle and knee pain.

How to do Gulph Naman:

  • Starting Position: First, sit on the ground. Stretch both legs straight in front of you in Dandasana posture. Keep about 1 to 1.5 feet distance between the legs.
  • Hand Position: Place your hands on the ground behind your waist. Keep your chest open and upright.
  • Pulling the Toes (Towards You): Join both feet together and pull the toes towards yourself (in the direction of the knees). Hold this stretch for about 15-20 seconds.
  • Pressing the Toes (Towards the Ground): Now press both toes downward toward the ground, as if trying to touch the floor. Hold this position also for 15-20 seconds.
  • Repeat the Cycle: This completes one cycle of “pulling toes” (towards you) and “pressing toes” (towards the ground). Do three such cycles (i.e., repeat each action three times).
  • Focus Attention: While pulling and pressing the feet, pay attention to the stretch felt in the heels, ankles, calves, knees, and thighs.
  • Relax: After completing the practice, completely relax your legs.
  • Feel the Difference: Before and after doing Gulph Naman, deeply feel the changes in your legs and joints.

Benefits of Gulph Naman:

  • Makes the muscles and joints of the ankles, calves, knees, and thighs strong and flexible.
  • Especially helpful in reducing ankle and knee pain.
  • Improves blood circulation in the legs.
  • Very beneficial for problems like varicose veins (swollen veins).

Precautions while doing Gulph Naman:

  • Slow Speed: Always perform the practice slowly and gently. Rushing reduces its effectiveness.
  • Feet Position: Always keep the heels and toes together. This ensures equal and complete stretch on both legs.
  • Facial Expression: Keep your eyes closed while doing the practice and maintain a gentle smile on your face. Do it with a calm and relaxed attitude.
  • Relaxation: After each cycle and at the end, completely relax your body, especially your legs.

How often should you do Gulph Naman?

  • People who have pain or stiffness in the ankles, calves, knees, or thighs should do Gulph Naman three times a day (morning, afternoon, and evening). (3 cycles each time).
  • For general health, it can be done once or twice a day.

Gulph Naman is an extremely *simple, convenient, and effective yoga practice. It works wonderfully for the health of the joints and muscles in the lower limbs. With regular practice, you can get relief from pain and stiffness in these areas. The best part is, you can even do this on your **bed! Just make sure the bed is *not too soft (spongy) and not too hard either. A medium-firm bed is best suited.

With that, thank you very much to all of you!

Yogacharya Dhakaram
Founder, Yogapeace Institute

Vakrasana: Your Natural Remedy for Diabetes and Digestive Health

Hari Om, dear friends! Greetings to all of you.

Welcome to the program “One Step from Health to Happiness.” Today, we will talk about *Vakrasana (Twisting Pose). Vakrasana is considered a powerful remedy for *diabetes. As you all know, diabetes slowly damages our body like termites. That’s why today we will discuss:

  • How to do Vakrasana?
  • What is the correct way to do it?
  • What precautions should be taken?
  • And what are the benefits?

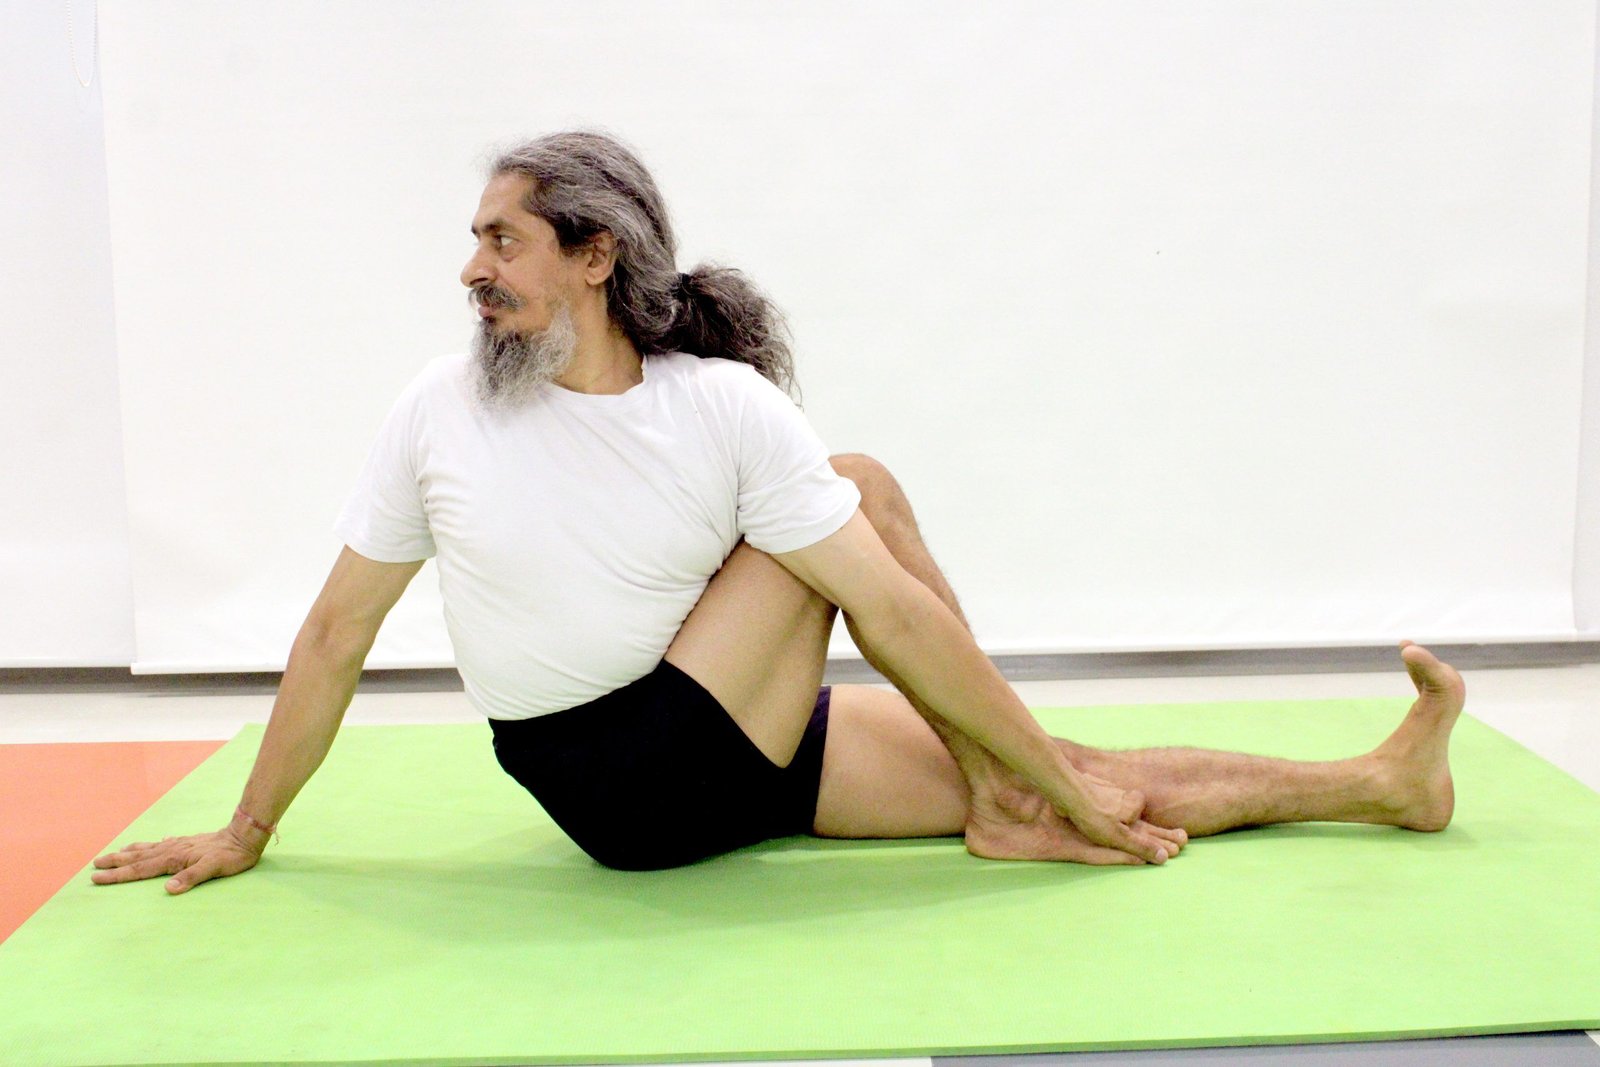
“Vakra” means twisting. Vakrasana is a simpler version of Ardha Matsyendrasana.
To do Vakrasana, first sit in Dandasana (we’ve discussed this earlier). For this:

  • Stretch both legs forward.
  • Keep a gap of 1 to 1.5 feet between the legs.
  • Place both hands on the ground behind your back for support.
  • Keep both heels and toes together and pull the toes towards yourself.
  • Now bend your right knee and bring its foot next to your left knee.
  • Make sure the knee and foot are in a straight line.
  • Keep the right knee at a 90-degree angle.
  • Place your right hand behind your waist.
  • Now, gently twist your upper body to the right, as much as you can comfortably.
  • Raise your left hand and bring it over the right thigh to hold the right foot.
  • Keep your back straight and try to twist as much as you can.
  • Try to stay in this position for at least 1 minute.
  • Then slowly return to the starting Dandasana position and rest for about 30 seconds.
  • After that, do the same steps on the left side.

Note: If someone has a big belly, they can use their hand to press the knee in the opposite direction to help twist the body.
For example, if you bend the right knee, try to move your body to the left using your left hand.

Precautions:

  • When bending the knee, keep it at a 90-degree angle.
  • Both hips should bear equal weight.
  • When twisting, the back hand should be aligned with the spine.
  • The back should stay straight.
  • Do not strain the neck; it should stay in line with the shoulders.
  • The toe of the straight leg should be pulled towards the body.
  • Weight should be equally distributed on both hips, and both hips should stay on the ground.

Who should not do Vakrasana:

  • Women who are on their period or who are pregnant.
  • People with ulcers or hernia.
  • Those with severe back pain should not do this pose. If they want, they can do it while sitting on a chair.

Benefits of Vakrasana:

  • It strengthens the digestive system.
  • Keeps the spine flexible.
  • It is a great remedy for diabetes.
  • It gives a good massage to all abdominal organs.

Thank you all very much.
Stay joyful, stay happy, and live in bliss!

Yogacharya Dhakaram
Founder, YogaPeace Sansthan

One-Legged Reclining Big Toe Pose: A Step from Health to Happiness

Dear friends,
A smiling greeting to you all.
A warm welcome to the ‘One Step from Health to Joy’ program..”*

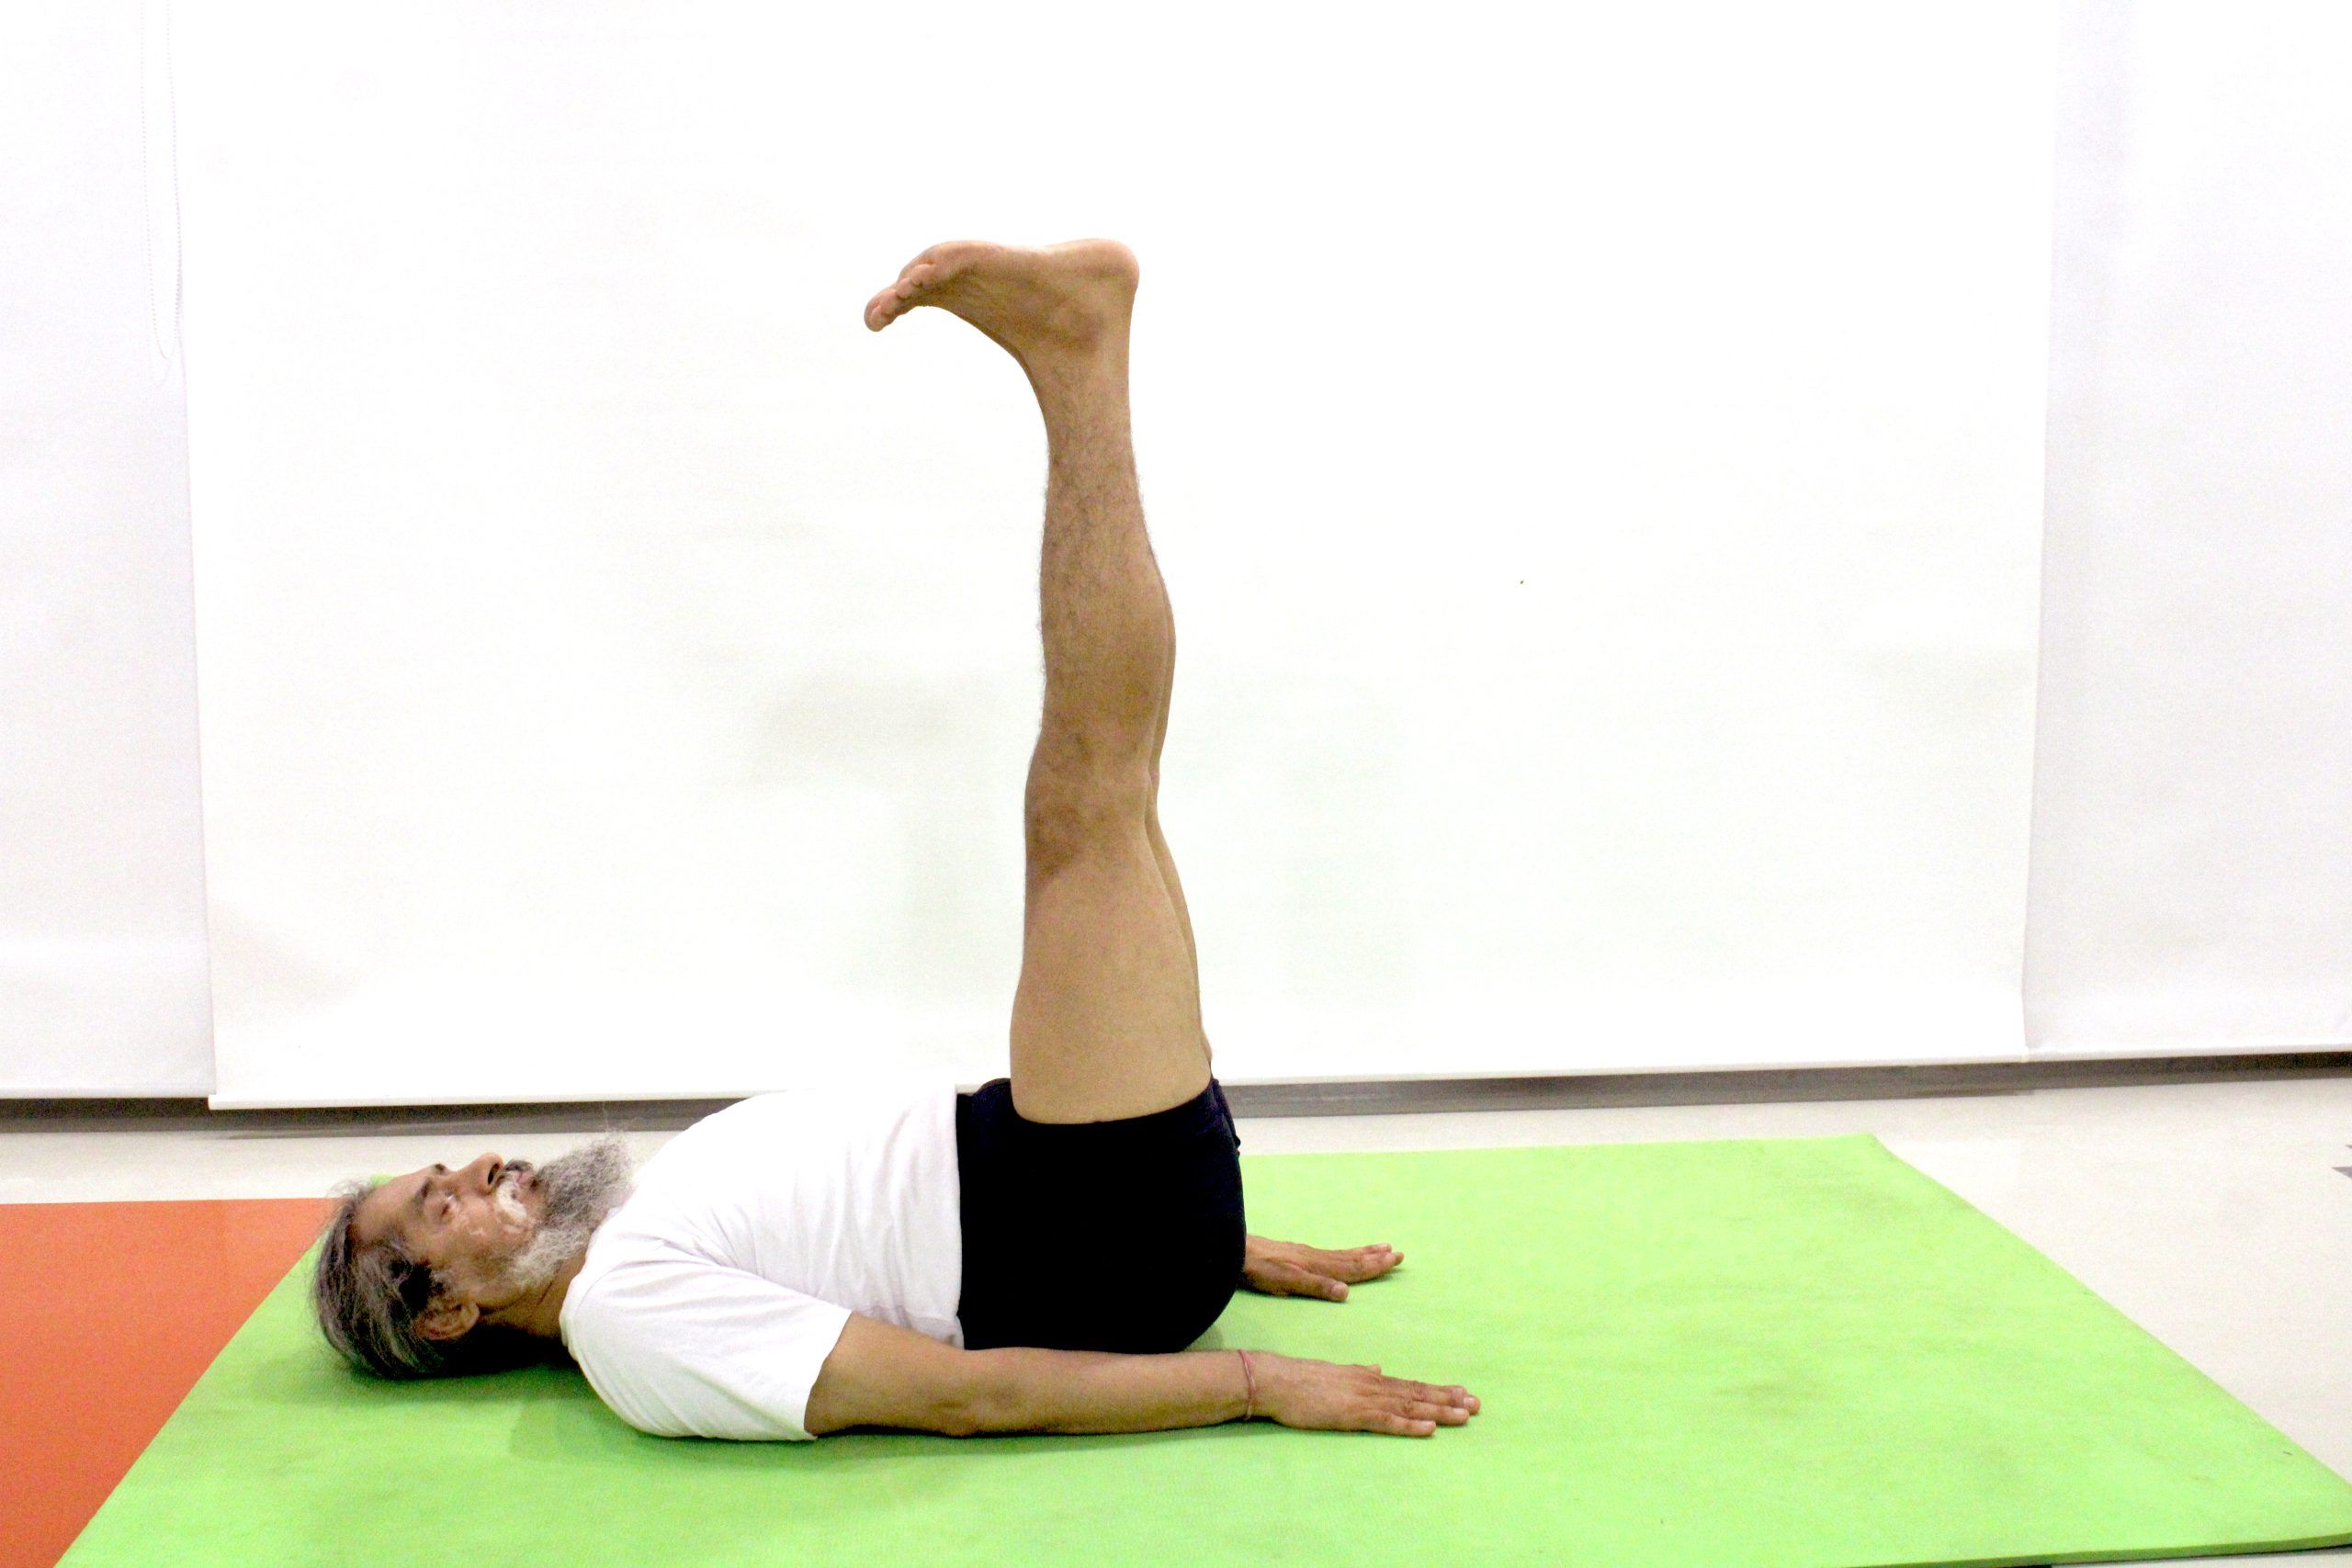
Today we will talk about a yoga pose called Eka Paad Supta Paadangushthasana (One-Legged Reclining Big Toe Pose). This pose is especially helpful for people with leg-related problems. If you often feel pain in your ankles, calves, knees, or thighs, you should do this pose three times a day. It not only strengthens your legs but also increases flexibility in your spine.

How to do this pose:

Step One (with the right leg):

  1. First, lie down in Shavasana (relaxing on your back).
  2. Bend your right leg and bring it towards your chest.
  3. Hold your right big toe with your right hand.
  4. Slowly try to straighten your knee.
  5. Pull the leg towards yourself as much as you can.
  6. Stay in this position for 1 minute.
  7. Then gently return to Shavasana and observe your body.

Step Two (with the left leg):

  1. Bend your left leg and bring it towards your chest.
  2. Hold your left big toe with your left hand.
  3. Slowly straighten your knee.
  4. Pull the leg towards yourself and stay in that position for 1 minute.
  5. Then relax in Shavasana and notice how your body feels before and after the pose.

Alternative method:

If you can’t hold your toe or ankle, you can use a yoga belt, scarf, towel, or bed sheet.

  1. Lie down in Shavasana and loop the yoga belt around the ball of your right foot (just under the little toe).
  2. Slowly straighten the leg.
  3. Make sure both legs are straight and toes are pointing towards your body.
  4. Raise your leg up to 90 degrees or more, depending on your ability.
  5. Stay in this position for 1 minute, then gently come back to Shavasana.
  6. Now repeat the same process with the left leg.

After doing the pose on both sides, relax in Shavasana and let your body become completely loose. Then slowly roll to one side and sit up.

Precautions:

  • Both legs should remain straight.
  • Toes of both feet should be pulled towards the body.

Benefits:

  • It works like a miracle for varicose veins.
  • Helps with all kinds of leg-related problems.
  • Very effective for pain in ankles, calves, knees, and thighs.
  • Increases flexibility in the spine and strength in the legs.

Once again, a warm and smiling greeting to you all.
Keep smiling, keep laughing, and stay joyful!

Thank you very much!

Yogacharya Dhakaram
Founder, YogaPeace Sansthan

Beyond Yoga: YogaPeace’s Life-Saving Blood Donation Initiative

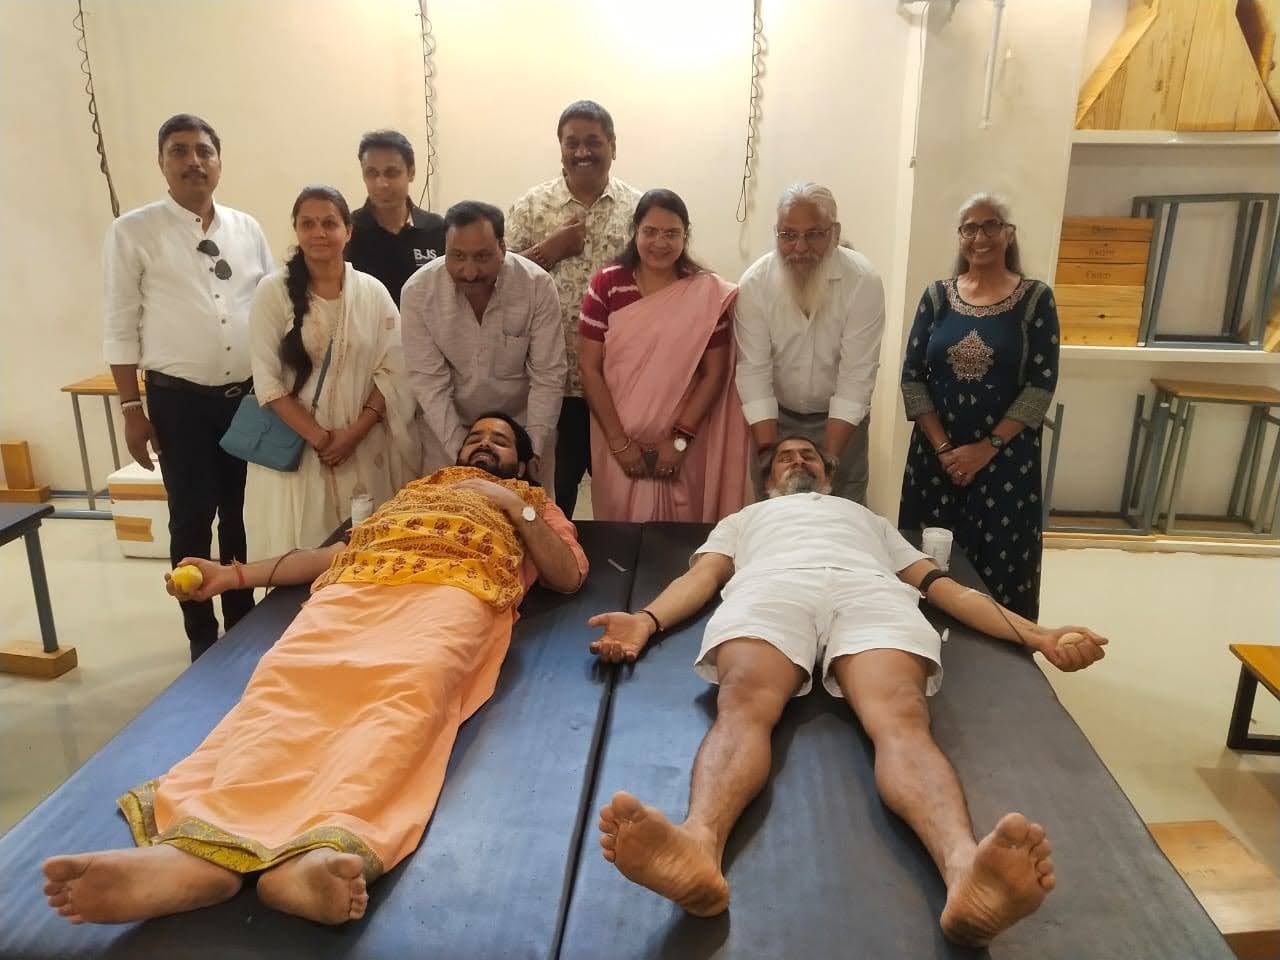
Today, March 23, 2025, a massive blood donation camp was organized by YogaPeace Sansthan, Bharatiya Jain Sanghatana Pinkcity, Jaipur, and Shri Vijayraj Kothari Charitable Trust, marking the 106th birth anniversary of Pujya Baba.

  • Location: YogaPeace Sansthan, Behind Science Park, Subhash Nagar, Jaipur
  • Time: 9:00 AM to 2:00 PM

Approximately 80 people registered for the camp, and 60 units of blood were successfully collected. This was a significant achievement and will help save many lives.

YogaPeace Sansthan extends its heartfelt gratitude to all the guests who participated and made this event a success. In particular, we are thankful to former Tourism and Military Minister Shri Pratap Singh Khachariyawas Ji, Brahmin Mahasabha President Shri Pandit Suresh Mishra Ji, former Mayor Devi Jyoti Khandelwal Ji, Shri Sharad Khandelwal ji, Engineer Shri Sampatti Singhvi ji, and Shri Rajendra Singh Ji.

We also express our gratitude to all the members of the YogaPeace Sansthan family and the dear children who came from all corners of the country and dedicated their services to the institute from beginning to end, with their body and mind.

And we are grateful to all the friends who inspired their close associates and friends to donate blood, which resulted in the successful collection.

We pray that the grace of the Supreme Power God continues to shower upon you all and bring welfare to the country and the world.

Event In-charge: Yogacharya Dhakaram Ji

  • Event In-charge: Yogacharya Dhakaram Ji
  • President – Shri Sunil Kumar Kothari
  • Minister – Shri Yash Bapna

Bharatiya Jain Sanghatana Pink City, Jaipur

Melt Belly Fat and Strengthen Your Core with the Bipedal Circular Movement (Dwipada Vrittakar Kriya)

A warm, smiling greeting to you all! Welcome to our “A Step Towards Health and Happiness” program. Today, we’ll discuss the Bipedal Circular Movement, which helps melt fat accumulated on the stomach and waist.

How to Perform the Bipedal Circular Movement (Dwipada Vrittakar Kriya)

  1. Begin by lying on your back.
  2. Lift your upper body by supporting it on your elbows.
  3. Keep your chest expanded.
  4. Your shoulders and elbows should both be at a 90-degree angle.
  5. Ensure there’s no tension in your neck.
  6. Now, slowly lift both legs and make a large circle from the right side, rotating clockwise. Each circle should take at least 15 to 20 seconds.
  7. When you feel tired, relax in Shavasana (Corpse Pose). Release all tension in your body.
  8. Slowly come back onto your elbows and lift both legs, making a large circle from the left side, rotating counter-clockwise. Each circle should take at least 15 to 20 seconds.
  9. Rotate counter-clockwise for the same duration as you did clockwise.
  10. Once you’re tired and have completed equal circles on both sides, relax. Lie down in Shavasana.
  11. Observe the difference between the initial and final states. Relax the abdominal and waist muscles in Shavasana.

Important Points

  • Performing this movement on your elbows focuses the effect on the abdomen, not the lower back.
  • A general person should perform this movement 4-6 times clockwise and 4-6 times counter-clockwise, roughly for 3 minutes.
  • Individuals aiming to lose weight should perform it for 2 minutes clockwise and 2 minutes counter-clockwise.

Precautions

  • Ensure your shoulders and elbows are at a 90-degree angle.
  • Try to keep your elbows close together.
  • Keep your palms firmly placed on the ground.
  • Avoid any strain on your neck.
  • Keep your chest expanded throughout the movement.
  • Keep your knees straight.
  • If you have neck pain, swelling, or stiffness, perform the movement lying flat.
  • Avoid rushing; perform the movement calmly and smoothly.
  • Do not perform this during pregnancy or menstruation.
  • If you have stomach ulcers or back pain, perform the movement with one leg at a time.

Benefits

  • Melts fat accumulated on the stomach and waist.
  • Strengthens the digestive system.
  • Massages the abdominal muscles.
  • Reduces fat accumulated on the buttocks.
  • Strengthens the thigh muscles.

Thank you all very much. Stay happy, healthy, and joyful.

Yogacharya Dhaka Ram
Founder, YogaPeace Sansthan
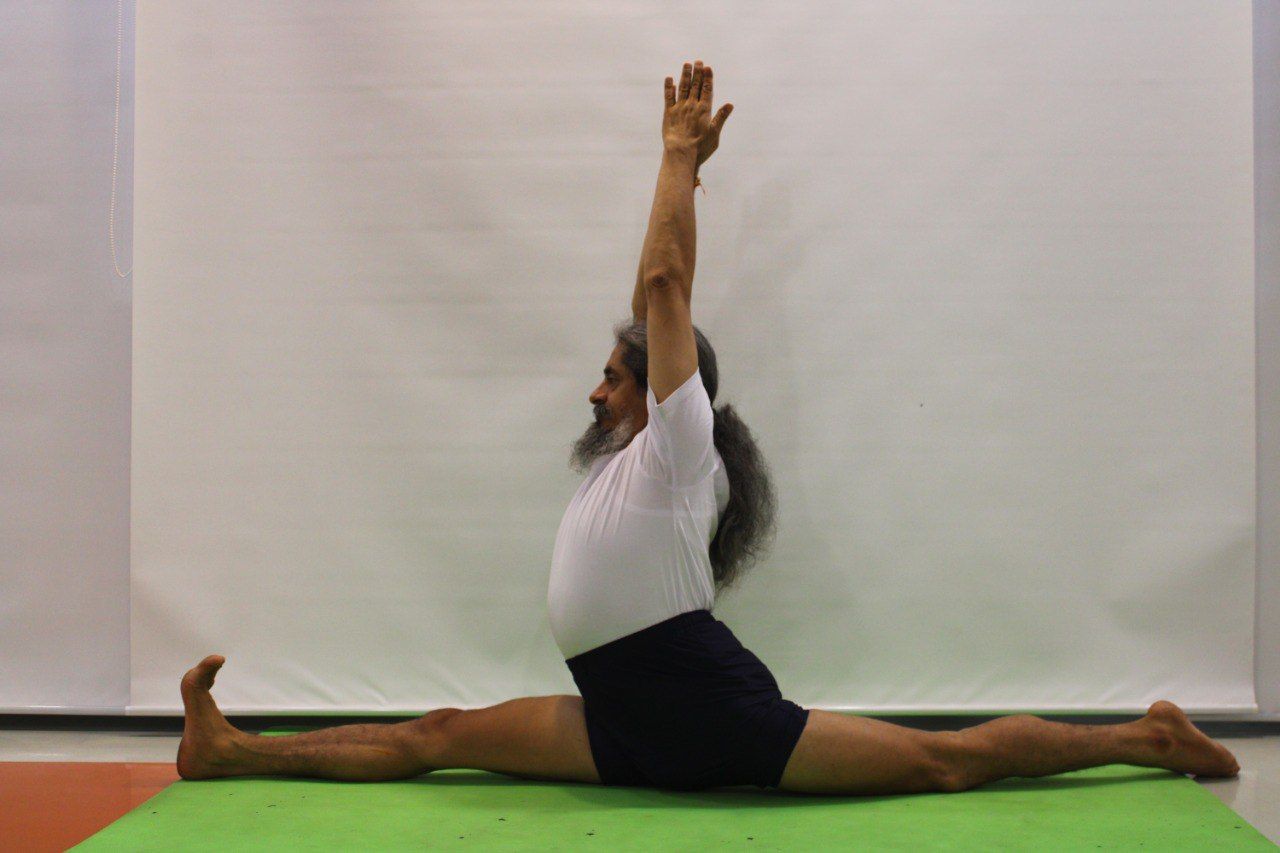
Yoga Therapy: A Healing Practice

Hari Om! A warm, smiling welcome to you all. Today, we’ll be discussing yoga therapy.

What is Therapy?

Therapy means treatment. Treatment refers to the process of diagnosing and curing diseases. There are around 135 types of medical practices in the world, such as Allopathy, Homeopathy, Ayurveda, and more. The purpose of all these methods is to heal the body from various ailments.

What is Yoga Therapy?

Yoga therapy involves the use of yoga asanas, pranayama, and meditation to treat various health conditions. It is a natural and safe method that helps maintain both physical and mental well-being.

Benefits of Yoga Therapy:

Physical Benefits:

  • Strengthens muscles
  • Increases flexibility
  • Improves blood circulation
  • Maintains a healthy digestive system
  • Boosts the immune system

Mental Benefits:

  • Reduces stress and anxiety
  • Enhances sleep quality
  • Calms and stabilizes the mind
  • Increases self-confidence

Emotional Benefits:

  • Helps maintain emotional balance
  • Increases self-awareness
  • Develops a positive outlook on life

Yoga Therapy is for Everyone:

Yoga therapy is suitable for people of all ages and fitness levels. Even elderly individuals, who may have physical limitations, can improve their health through yoga therapy. The postures can be modified, and supportive props can be used to suit individual needs.

The Importance of a Good Yoga Guru:

Practicing yoga therapy under the guidance of a skilled yoga teacher is crucial. A yoga guru will teach the correct techniques, monitor your progress, and keep you motivated throughout your journey.

Yoga therapy is a powerful healing practice that helps maintain both body and mind. If you wish to improve your health, yoga therapy is an excellent choice.

Hari Om! Wishing you a happy and blissful day!

Yogacharya Dhaka Ram
Founder, YogaPeace Sansthan

Yogacharya Dhakaram Appointed as Senior Vice President of Indian Yoga Association, Rajasthan

The Rajasthan chapter of the Indian Yoga Association (IYA), the apex body representing all yoga organizations in India, recently convened a state executive committee meeting. The session, held at Bappa Rawal Auditorium, was presided over by Subodh Tiwari, National General Secretary of IYA and a member of the Governing Council of the Ministry of AYUSH, Government of India. The meeting witnessed the participation of prominent yoga experts and executive committee members from across Rajasthan.

The session commenced with Joint Secretary Himanshu Paliwal reviewing the resolutions from the previous meeting and highlighting the organization’s progress so far. General Secretary Subodh Tiwari then outlined the association’s vision, action plan, and expectations, providing valuable guidance to the members.

Newly Appointed State Executive Committee

In a unanimous decision, the following individuals were appointed to key positions in the Rajasthan State Executive Committee:

  • Mahesh Sharma – President
  • Yogacharya Dhakaram – Senior Vice President
  • Dr. Hanwant Singh & Megh Singh – Vice Presidents
  • Dr. Deependra Singh – Secretary
  • Himanshu Paliwal – Joint Secretary
  • Diksha Jamwal – Treasurer

Additionally, other responsibilities within the executive body were assigned as follows:

  • Dr. Hemraj Chaudhary – Legal Coordinator
  • Dr. Veena Mundra – Membership Coordinator
  • Shivani Verma – Event Coordinator
  • Dr. Purnendu & Dr. Guneet Monga – Publication & Research Coordinators
  • Yogi Manish – Public Relations Coordinator
  • Indira Dangi & Kartar Singh – Members

Proposal for Rajasthan Yoga Commission
A significant outcome of the meeting was the unanimous approval of a proposal for the establishment of the Rajasthan Yoga Commission. The proposal will now be submitted to the government for further consideration.

The formation of this new state executive committee and the push for a Yoga Commission mark a significant step in promoting and institutionalizing yoga in Rajasthan.

Rubber Neti: A Wonderful Way to Health and Hygiene

Greetings to all with a warm smile! Welcome to our program, “From Health to Happiness.” In our last session, we discussed Jal Neti Kriya, and today, we will delve into the details of “Rubber Neti.”

What is Rubber Neti?

Rubber Neti is a simpler and more accessible alternative to Sutra Neti. While Sutra Neti uses a thread, Rubber Neti employs a soft and flexible rubber material, making it easier to use. This practice is especially beneficial for beginners trying Neti Kriya for the first time.

Preparation for Rubber Neti:

  1. Soak the Rubber Neti in lukewarm water to soften it.
  2. Apply a layer of ghee (clarified butter) to the open end of the Rubber Neti. Ensure the application is at the end with a small hole, aiding the breathing process.
  3. Check your nostrils to identify which one has better airflow, and begin the practice with that nostril.

Preparing the Nostrils:

  • The night before practicing Rubber Neti, put a few drops of almond oil or ghee in your nostrils. This helps clean and open the nasal passages.

Practice Procedure:

  1. Always breathe through your mouth during the practice.
  2. With your neck slightly raised, carefully insert the Rubber Neti into one nostril.
  3. Gently rotate and push the Rubber Neti into the nostril.
  4. When the other end of the Rubber Neti reaches the throat, use your thumb and index finger to pull it out through the mouth.
  5. Hold both ends and gently pull them back and forth.
  6. After completing the process, slowly remove the Rubber Neti from your mouth.
  7. Repeat the process with the other nostril.

Benefits of Rubber Neti

  1. Avoidance of Nasal Surgery:
    Regular practice of Rubber Neti can help rectify nasal bone growth issues (deviated septum), potentially avoiding surgery.
  2. Relief from Allergies:
    It effectively clears nasal allergies and blockages.
  3. ENT Health:
    Rubber Neti is highly beneficial for ear, nose, and throat (ENT) issues.

Precautions

  1. Safe Usage:
    Never insert the open end of the Rubber Neti into the nostril directly, as it may cause injury.
  2. Stay Calm:
    Maintain patience and caution during the practice.
  3. Practice Frequency:
    Once proficient, practicing Rubber Neti 1-2 times a month is sufficient.

Important Tips

  • Sneezing is common during the initial days of practice. It takes time for the nose to adapt to external elements, so don’t worry. This will improve with regular practice.

Wishing you all a joyful and healthy day!

Yogacharya Dhaka Ram
Founder, Yoga Peace Institute