Usha Paan – The Morning Nectar for Digestive Health (Part 1)
Dear Friends,
Warm greetings and a smiling welcome to you all in our series “A Step Towards Health and Happiness.”
How are you all doing?
I’m sure you are feeling great — especially if you practice Yoga regularly.
Daily yoga fills our body and mind with positive energy.
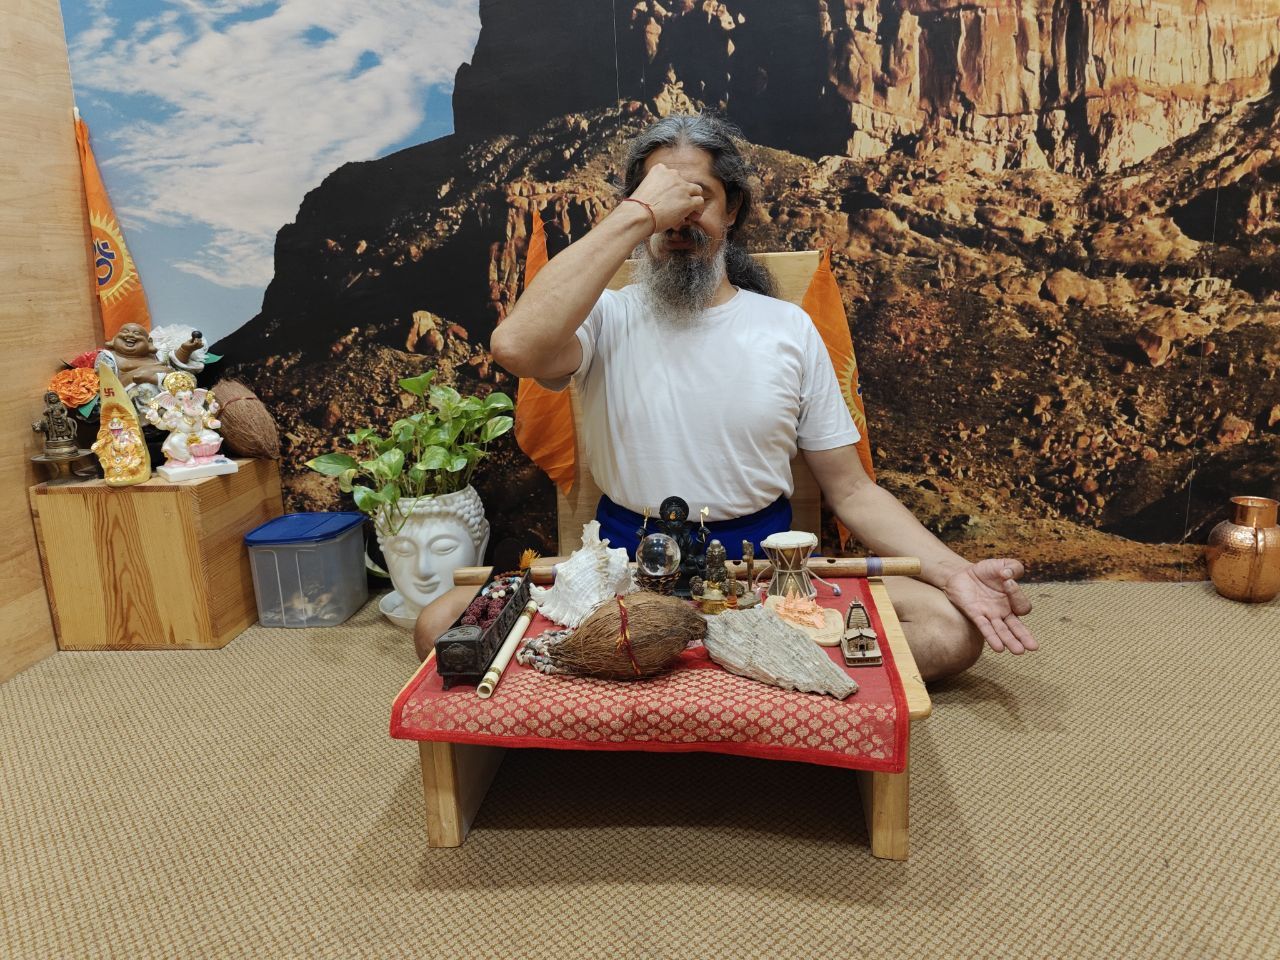
Today, let’s talk about an ancient Ayurvedic practice known as “Usha Paan.”
What is Usha Paan?
The word “Usha” means early morning — the time just before or during sunrise.
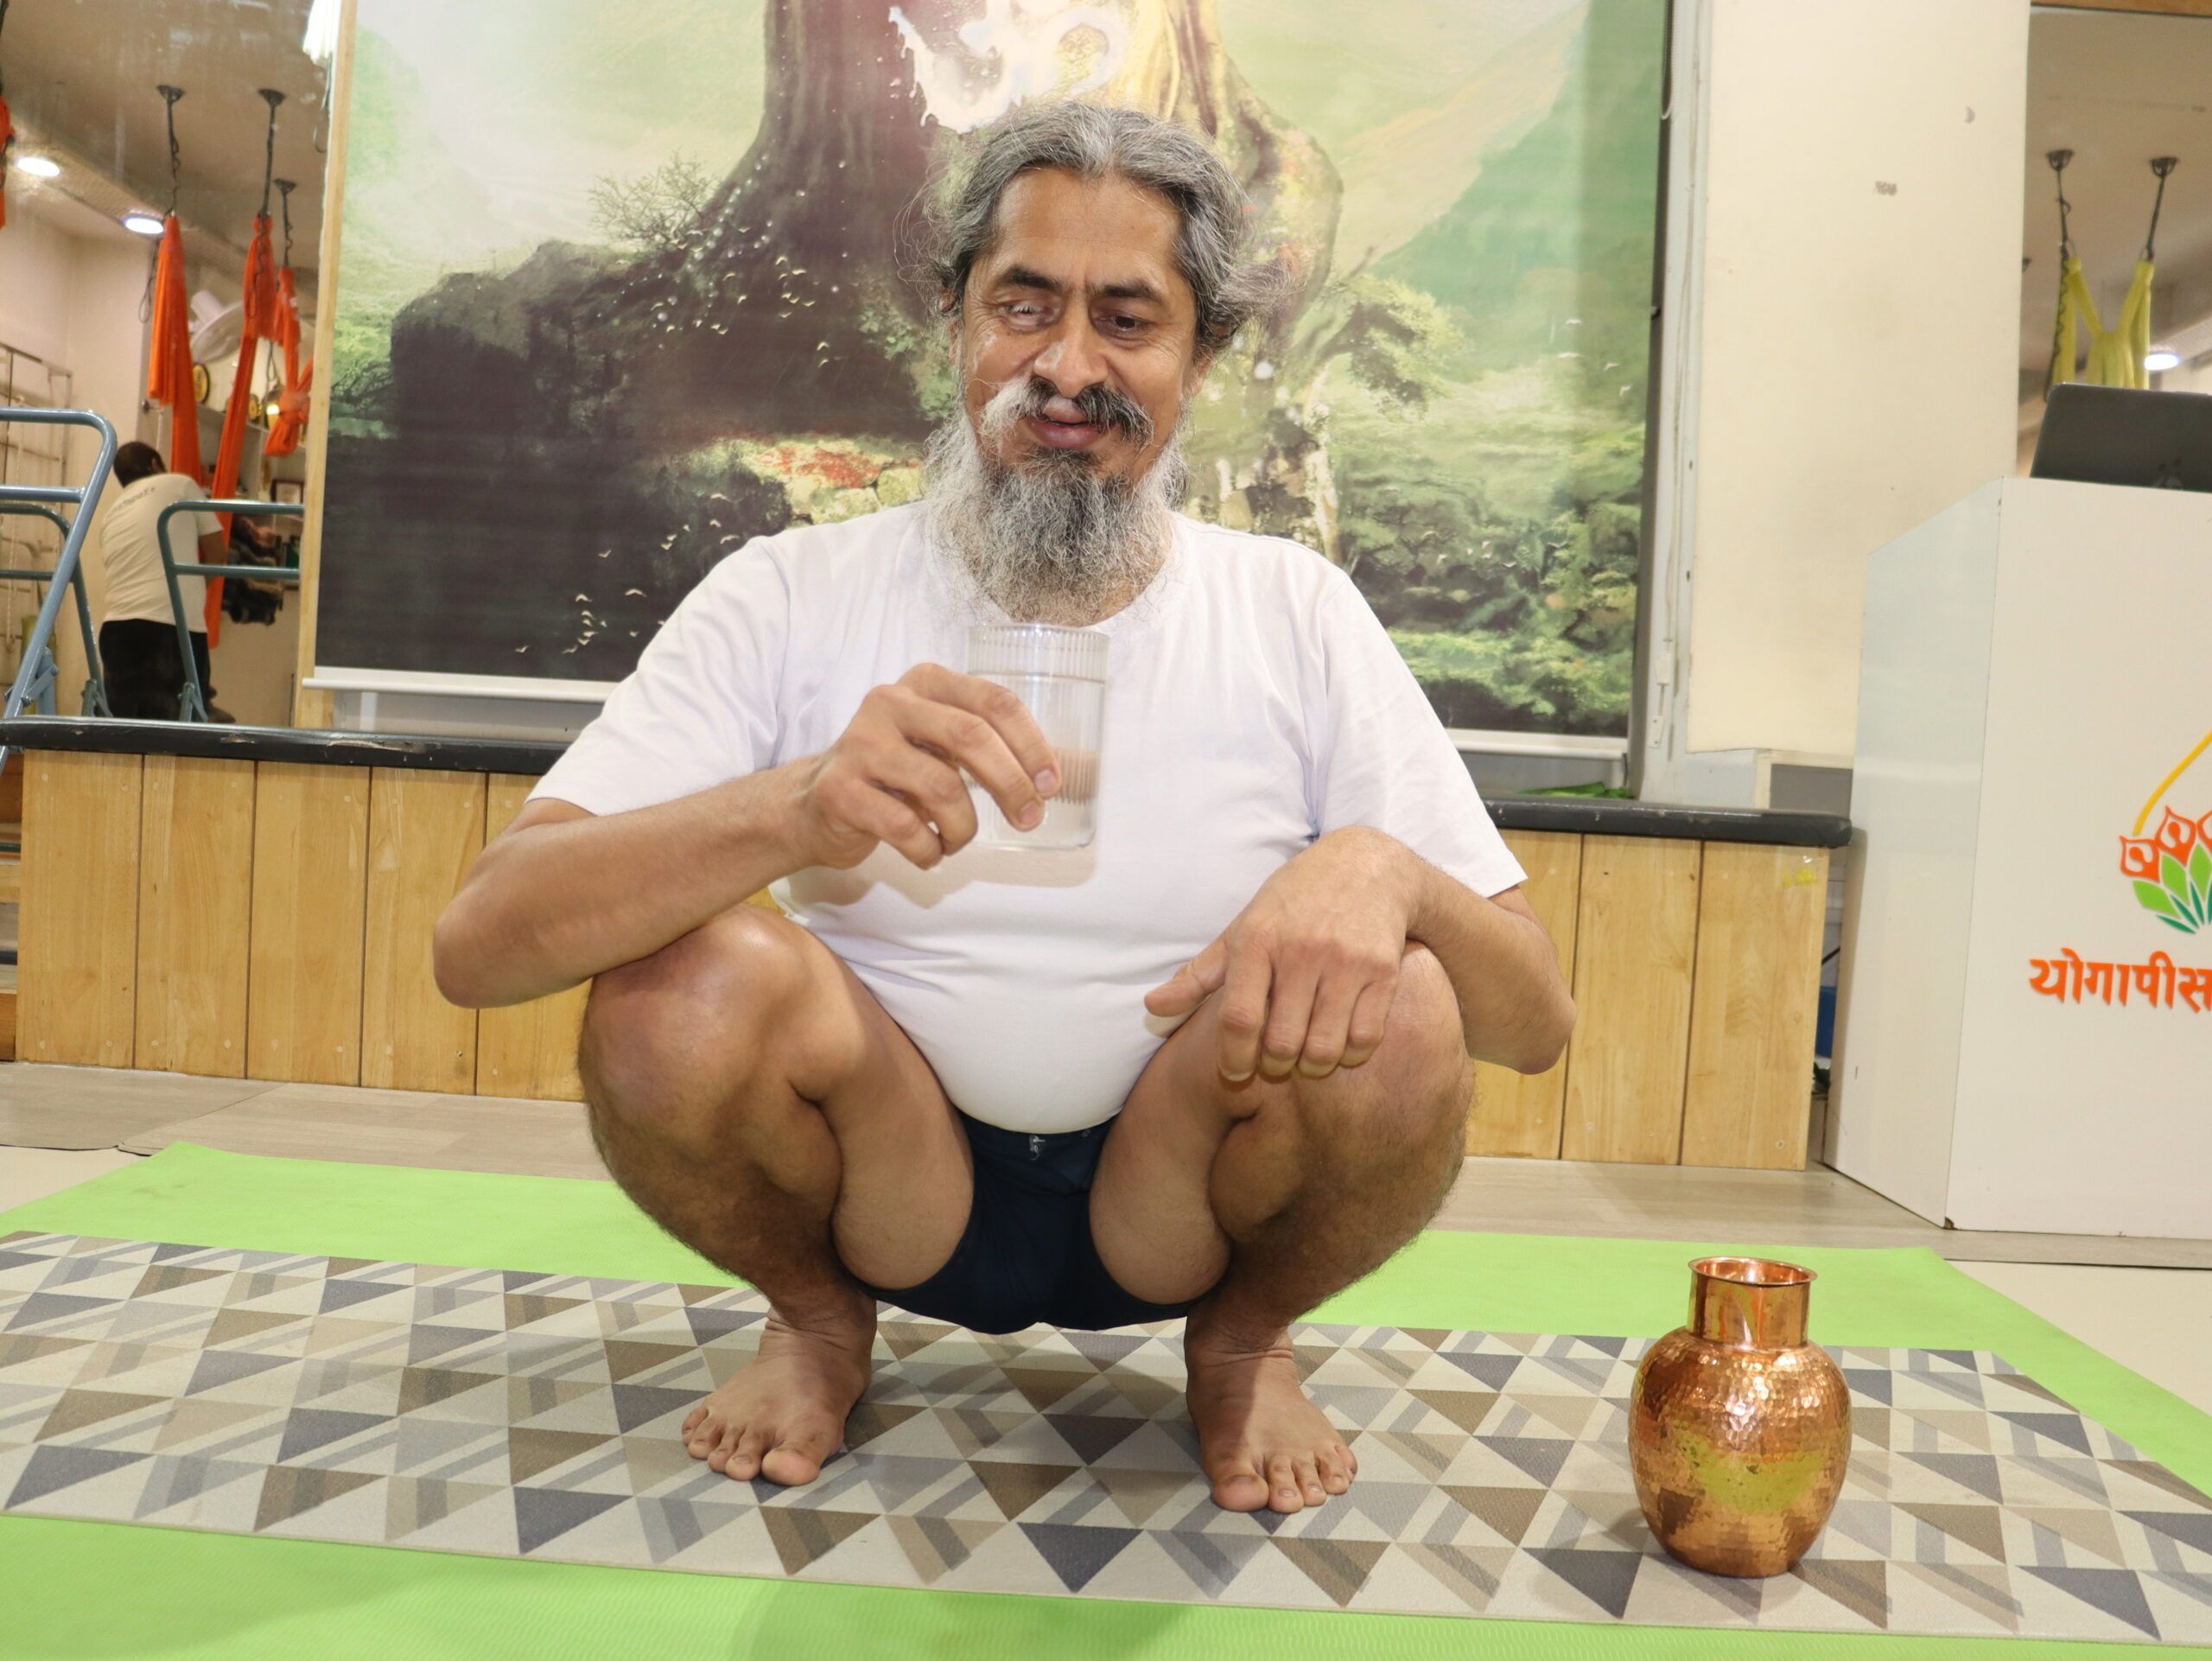
Drinking water at this sacred hour, right after waking up, is called Usha Paan.
In Ayurveda, Usha Paan is considered as “Amrit Paan” — the drink of immortality — because it helps prevent numerous ailments.
According to Ayurveda, most of our health problems originate from the stomach.
By practicing Usha Paan daily, one can stay protected from many digestive disorders.


How to Practice Usha Paan
- Upon waking up on an empty stomach, drink about 1 to 1¼ liters of water — without rinsing your mouth.
- The water should be gulped down continuously, not sipped slowly.
- If this feels difficult initially, start with as much as you can drink and gradually increase the quantity.
Why Should You Drink Without Rinsing Your Mouth?
During the night, our mouth naturally collects saliva, which is beneficial for digestion.
That’s why Ayurveda recommends drinking water before brushing or rinsing your mouth.
You might wonder — “But isn’t my mouth dirty in the morning?”
The simple solution is: after dinner at night, brush or clean your mouth before sleeping, so it remains fresh and clean by morning.


The Right Posture for Usha Paan
- Sit in a squatting position (like the Indian ukaddu posture) while drinking water.
This helps strengthen the digestive system and intestines.
It’s also beneficial for your knees. - If squatting is uncomfortable, you may drink water while sitting on a chair or sofa.
Benefits of Usha Paan
- Keeps the digestive system strong and active.
- Helps relieve constipation and excess acidity.
- Prevents indigestion and supports regular bowel movement.
- Aids in healing all kinds of stomach-related disorders.
Precautions
- If drinking too much water at once feels difficult, start with a smaller amount.
- Gradually increase the quantity day by day as your body adjusts.
Stay Happy. Stay Cheerful. Stay Blissful.
– Yogacharya Dhakararam
Founder, YogaPeace Sansthan